How to Tile a Floor – A Complete Guide
The thought of tiling a floor can be daunting if you haven’t done it yourself before. There’s a lot of pressure to lay the tiles correctly and mix the right quantities of adhesive and grout. Some people may not think it’s worth it and would prefer to let a professional take over and complete the job for them. However, when choosing this option, you often find yourself paying much more than you originally budgeted for labour costs. To save yourself some money and have a go at doing something new, why not try tiling your floor yourself?
In this blog, we’ll be taking you through the process step-by-step and providing you with all our best tips and tricks for creating a professionally tiled floor.
Step One: Gathering Your Materials
The first step is to make sure you have the correct materials and equipment on hand. The last thing you want is to start the project and find halfway through that you don’t have everything you need. Save the following list so you can check off what you already have and what you’ll need to purchase. Don’t be put off by the length of this list, you may not require every item on here, but it’s better to be overprepared just in case.
- Your chosen tiles. Whether they are ceramic floor tiles, porcelain floor tiles, or something else, make sure you have the right amount for your chosen area, plus an extra 10% to account for mistakes or breakages when cutting.
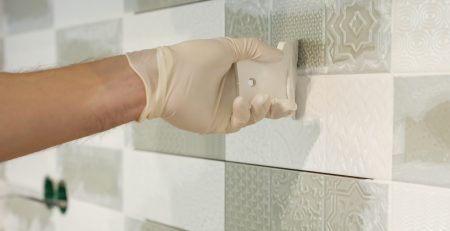
- Safety equipment. This covers knee pads, safety goggles, protective gloves and protective floor coverings.
- Tools and other equipment. Scraper, pencil, calculator, chalk line, trowel, notched spreader, spirit level, flatbed tile cutter, electric wet tile cutter, tile nipper, tile file, grout float, grout finishing tool, floor tile adhesive, floor tile grout, polythene, adhesive tape, PVA adhesive, tile spacers, masking tape, flexible sealant, and a rubber mallet.
- Cleaning equipment. A damp cloth, bucket, dustpan and brush, tile sponge, and a dry cloth.
Step Two: Prepare the Floor Surface
Before you begin, it’s vital that you properly check the floor surface for bumps and cracks – and proper cleaning is essential, no matter what floor type you’re starting with. If working with a concrete base, use sugar soap to remove grease and prime the floor. You must also check that the floor is level and there are no slopes. You can use a suitable levelling compound to do this.
Step Three: Lay the Tiles Down Dry
To ensure you’re happy with the placement of your tiles, we recommend laying them down dry first. From there, you can cut, rearrange, and reshape the tiles how you see fit. Use a tape measure to measure the room’s width and find the centre line – this is where you will be tiling from. You must leave yourself access in and out of the room without having to stand on the area you’re tiling, so keep this in mind when laying the tiles.
Step Four: Prepare and Spread the Adhesive
Protective clothing must be worn from this point onwards. With regards to the adhesive mixture to water ratio, it’s important to read the instructions on your bag of adhesive to ensure you get the measurements right as each brand can differ slightly. Mix only the amount you’ll need in a bucket and get a suitable amount onto your trowel. Spread from the centre point outwards using the smooth side of your notched spreader before turning it around to the notched side to create the combed ridges. Please note that adhesive sets quickly, so you must work in small areas to ensure it’s still wet when you place the tiles.
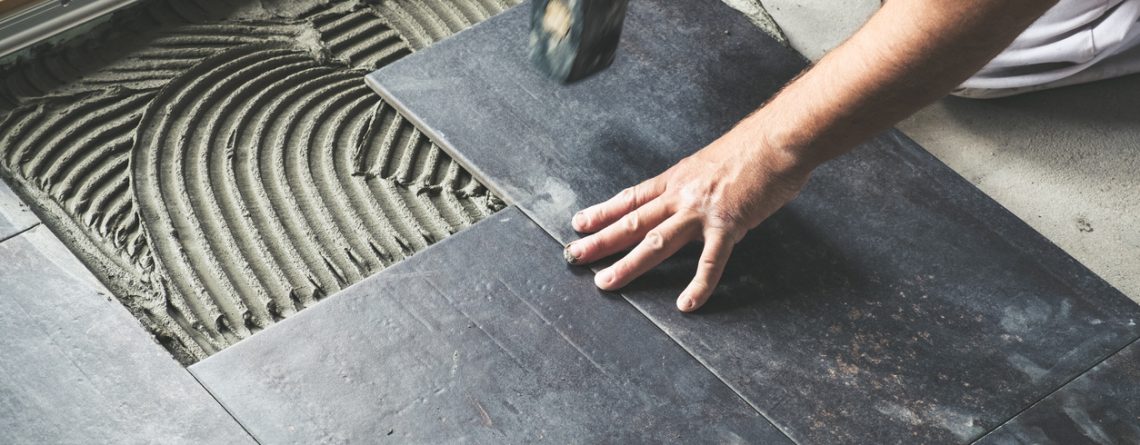
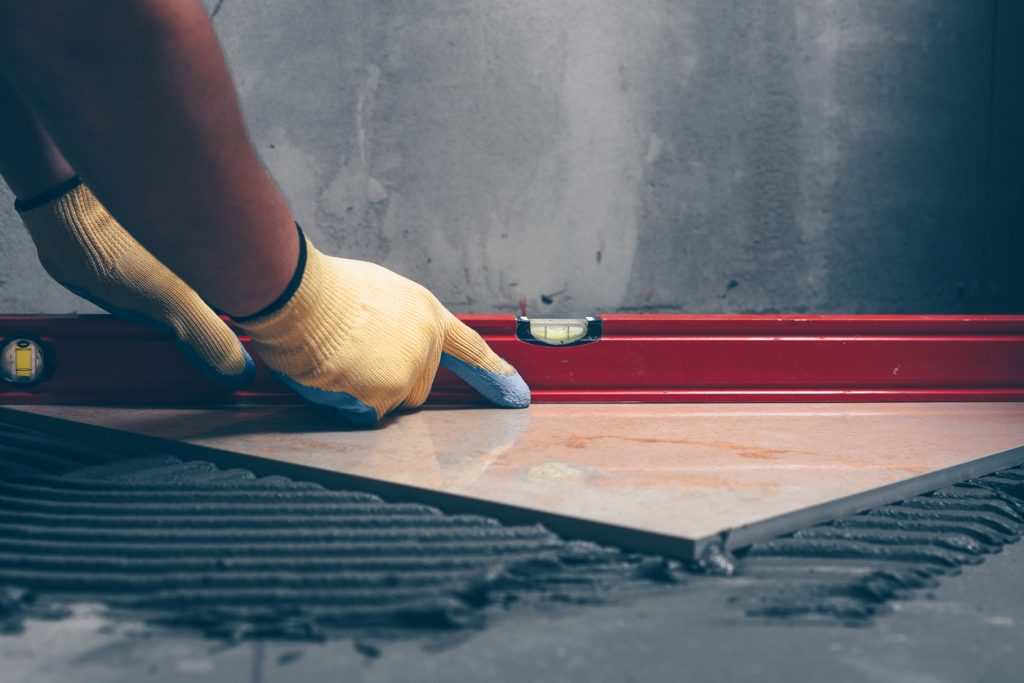
Step Five: Lay the Tiles
Once a small area (around one square foot) has been spread with adhesive, place the first tile firmly onto the floor using a slight twist to bed it into the adhesive. Repeat this process, remembering to use tile spacers throughout to ensure they’re evenly spread. As you add more tiles, keep checking they are flat using a spirit level. If they’re not, hit them carefully with a rubber mallet. If any adhesive finds its way onto the tiles, wipe it away immediately with a damp cloth, as it could damage the tile if it’s left to set. The tiles need at least 48 hours to set, so if you’re tiling a room that needs to be used during that time, such as a bathroom, only complete half the room so it can still be used without stepping on the tiles.
Step Six: Prepare the Grout
For full instruction on how to prepare and apply grout, please read our blog on how to grout tiles where we give an in-depth guide on ensuring a professional finish.

Step Seven: Sealing and Finishing
To finish the job, use a suitable sealant that matches the colour of your chosen grout. Protect the area adjacent to where you’re working with masking tape, and quickly apply a continuous bead of sealant to ensure minimal movement between the wall, skirting board, or floor. Clean up the tiles with a damp cloth and leave the area untouched for 24 hours to ensure everything is set. Congratulations – you’ve successfully tiled a room!
We hope that this blog has given you enough guidance to complete a professional tiling job without breaking the bank in labour costs. We have an extensive range of tiles, so no matter what you’re looking for, we’re guaranteed to have what you need. Take a look at our collection of Grespania floor tiles, for example – their luxury quality is available in an array of sizes, shapes, colours, and textures. If you’re looking for bathroom tiles, why not browse our range of Porcelanosa bathroom tiles? Their nature-inspired designs are perfect for creating a relaxing, tranquil space. If you need help finding which tiles are right for your project, don’t hesitate to get in touch with our friendly, knowledgeable team – we’re always more than happy to help.


Leave a Reply