How to Grout Tiles
Knowing how to grout tiles is an essential part of any tile installation project. There’s no point in buying beautiful new tiles for your kitchen or bathroom only to install them incorrectly and leave them susceptible to damage. Today, we’re going to look at how to correctly grout tiles to ensure that you’re getting a professional finish every time.
What is Grout and What Does it Do?
Grout is usually a mixture of cement, sand, water and colourant, which can be used to embed rebar in masonry walls, connect pre-cast concrete sections, fill voids and seal joints. Grout has many uses, but for the average DIYer, sealing joints between tiles on floors, kitchens, and bathrooms is where you’ll most regularly use it.
Where tiles are concerned, grout serves several functions. It fills the gaps between tiles to provide proper alignment and helps to further bond the tiles to the overall assembly. Once dried and applied correctly, the grout will create a sealed surface that will keep your tiles in place and prevent moisture from getting underneath the installation.
Types of Grouts
There are a few different types of grout available – today, we’ll take a quick look at the most popular on the market.
Cementitious Grout
Cementitious grout is the most used grout in both residential and commercial tile installations. The bulk of cementitious grout is made of Portland cement, filler particles, water-retentive additive, and colourised pigment. Cementitious grout comes in various colours, allowing you to choose a grout colour that matches or contrasts with your tiles. The most common grout colours are white, grey and black, although it is possible to buy grout in a whole range of colours and shades. Cementitious grout will need to be sealed once every couple of years with a penetrating sealer to help keep it waterproof and stain free.
Epoxy Grout
Epoxy grout consists of epoxy resin, silica fillers, colour pigment and a hardener. It is far less porous than cement-based grouts and an excellent choice for tiles in areas where grease and chemicals are present – like kitchen backsplashes. Epoxy grout is impenetrable to liquids and doesn’t require sealing like cementitious grout, making it suitable for titled areas where water is mainly present.
Due to its quick setting time, Epoxy grout can be trickier to work with, especially if you’re an amateur tiler. It is generally more expensive than cementitious grout, but it is highly durable and will require less regrouting.
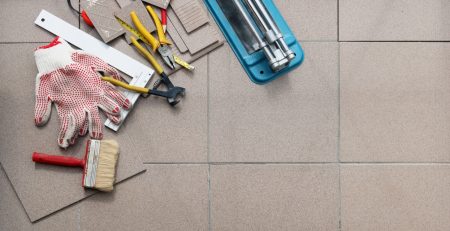
What You Need to Grout Tiles
If you’re going to grout your own tiles, you need to ensure you have the correct tools to carry out the work properly. If you’ve made it as far as grouting your tiles, you’re probably near the end of your project – don’t let all your hard work go to waste by being unprepared for the final hurdle!
Make sure you’ve got:
- Suitable grout for your tiling application in your chosen colour
- Plastic spreading tools or a squeegee
- Old clothes or towels
- A bucket and a large sponge
- Margin trowel
- A vacuum cleaner
How to Grout Your Tiles
Once you’ve got everything you need and you’ve adhered your tiles to your floor or wall, it’s time to start grouting.
Prepare Your Grout
If you’re using powdered grout, mix the powder with water in a clean bucket until you get the right consistency. Follow the manufacturer’s instructions on the packaging, as preparation may differ between grout brands.
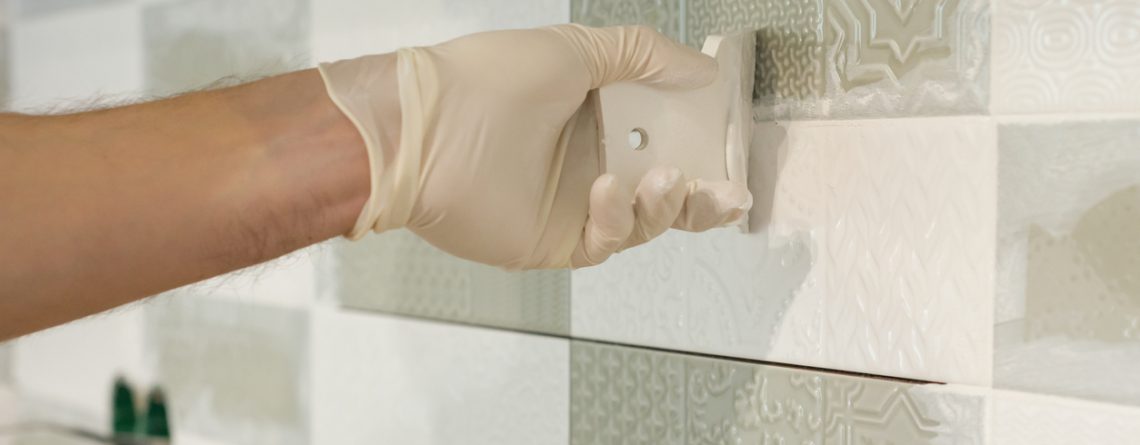
Apply Grout to Your Tiles
Using your plastic spreading tools or squeegee, push the grout into the gaps between the tiles – working at a 45-degree angle will achieve the best results. Try to work in small areas at a time to avoid the grout drying out whilst you’re still working on it.
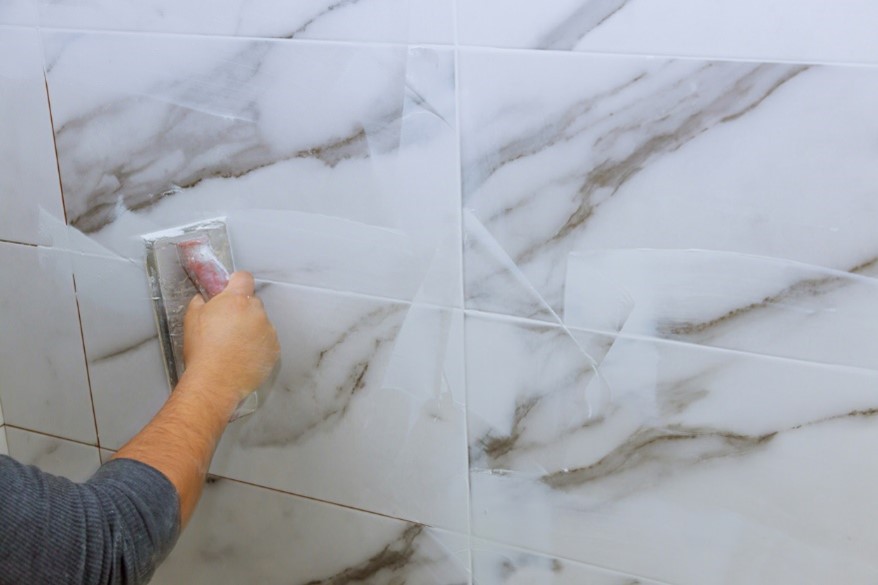
Clean off Excess
Once you’ve filled all your joints with grout, wipe off any excess with a damp sponge, wait for ten minutes, and wipe again.
Seal Your Grout
If you’re using a cementitious grout, seal it with a good quality grout sealer. Read the manufacturer’s instructions before applying and wipe away any sealant that drips onto your tiles.
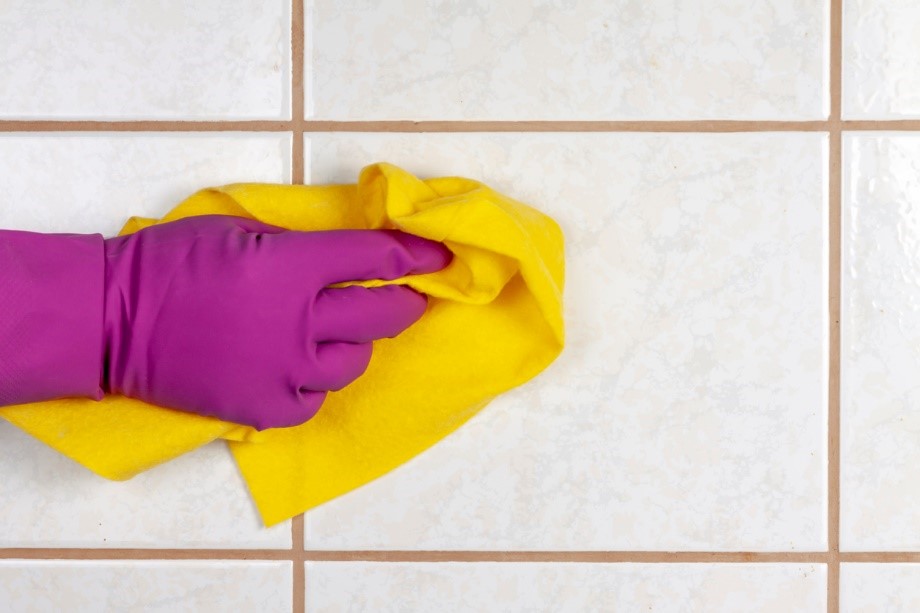
Leave to Dry
Let your grout dry for the recommended time, clean up and wash all your tools. Once your grout is dry, you can clean and polish your tiles with a cloth, then step back and admire your handiwork.
Regrouting Old Tiles
If your tiles are already grouted but they’re looking a little on the shabby side, it’s possible to remove the old grout and replace it. It’s even possible to do this with a humble nail and hammer – but we would highly recommend using either a grout rake or an electric grout remover.
If you’re using a grout rake, fit the rake into the line of grout – starting at the midpoint of a tile – and apply pressure as you drag the rake along the old grout slowly and steadily. If you’re using an electric grout remover, the process is the same, but you don’t need to apply any pressure. Remove grout from all the vertical lines first, followed by the horizontal. Use a cloth or vacuum cleaner to get rid of any dust you’ve created. Once you’ve got a clean surface to work with, you can follow the how-to grout your tiles steps to apply new grout to the area.
We hope you found this article helpful and wish you all the best of luck with your next tile project. At Tile & Stone, we stock an extensive range of tiles for floor projects alongside tiles for kitchen and bathroom renovations. If you would like more information about any of the tiles we stock, please contact us today – we’ll be happy to help.


Leave a Reply