
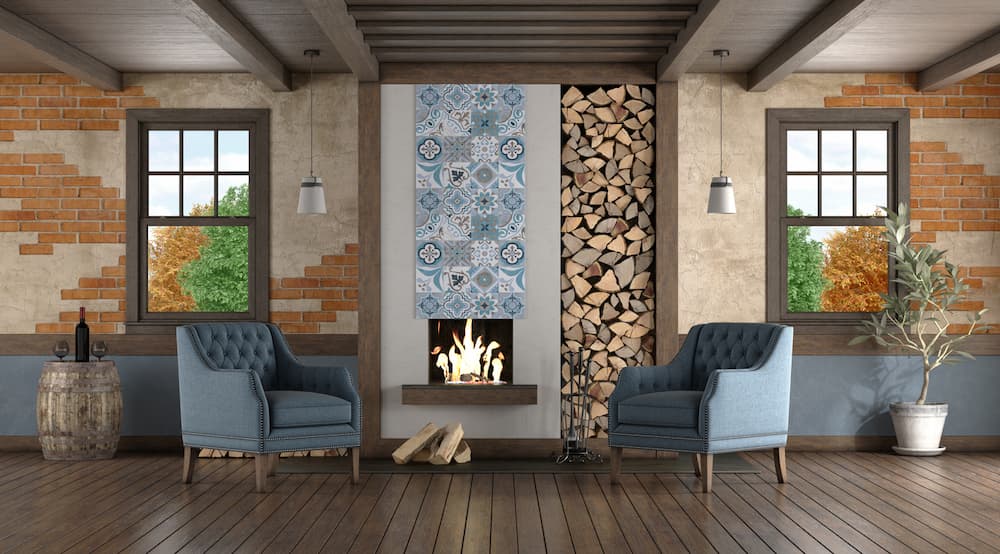
How To Tile A Fireplace
A fireplace is an excellent addition to your living space. Fireplaces are one of the most popular additions you can make to your home. But before you can enjoy those cosy romantic fires, you need to tile your fireplace.
Tiling a fireplace yourself isn’t as impossible as it sounds. However, while hiring an experienced company will get the job done, you can save a lot of time and money by choosing to tile your fireplace yourself. Please read our guide below to learn how best to tile your fireplace.
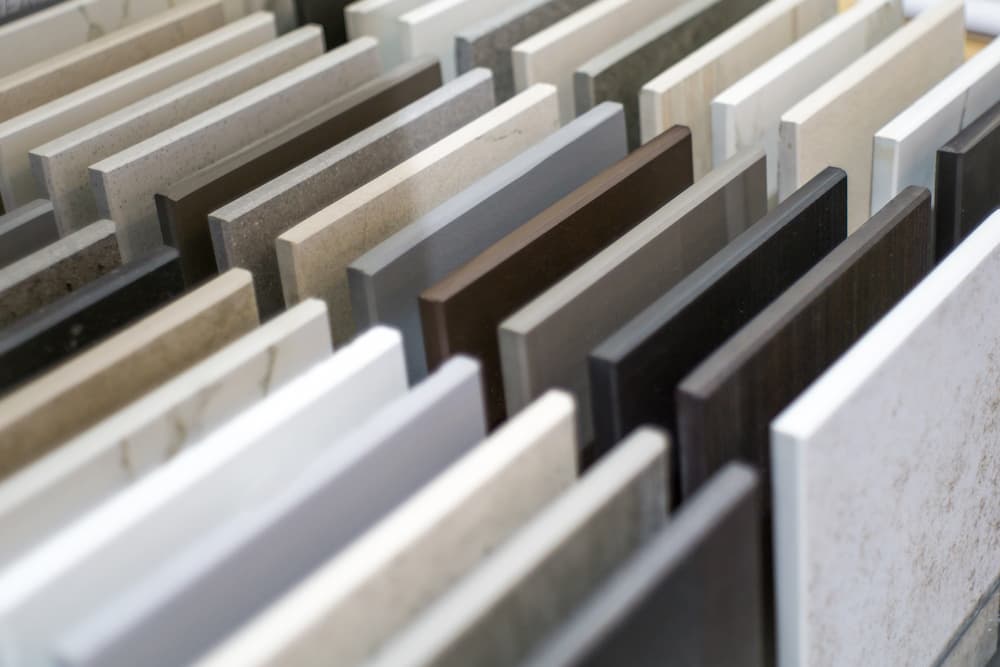
Choosing The Best Tiles For A Fireplace
When you have so many choices for hearth tiles, it can be challenging to decide which you want. We recommend breaking the problem down initially, focusing on the best-suited material for your fireplace.
Slate tiles are an excellent choice for fireplace tiles. They can come in a variety of colours providing you with plenty of design choices. But they also provide a classic rustic, natural feel that few other materials can provide.
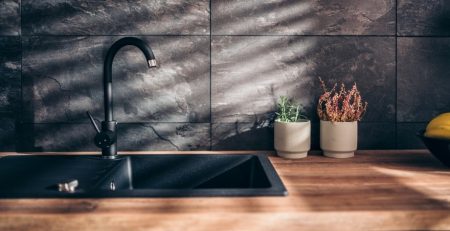
Porcelain tiles are a fantastic choice for your fireplace tiles. Being Ca’Pietra Stockists we can provide a wide range of tiles in various colours and styles to create a more decorated fireplace. Additionally, porcelain tiles are effortless to clean, but as a Porcelanosa tile stockist, we recommend making sure your tiles are glazed for extra protection.
 What You’ll Need For Tiling Your Fireplace
Whilst anyone can tile their fireplace, you should make sure to be prepared before your start. Starting a DIY project like this without proper preparation could lead to increased costs and hassle for your home life.
The tools you’ll need are:
- A manual tile cutter will work to cut your tiles in straight lines
- Heat resistance adhesive, it’s vital your adhesive is suitable near high heat.
- Grout
- A notched adhesive trowel
- A grout float and sponge
- Mixing bucket and paddle
- A drill
With your chosen tiles, this should be the minimum equipment and supplies you need before starting.
Make sure you equip yourself with sufficient protective wear as well. It’s not just a case of wearing casual clothes; you should get yourself some plastic goggles and hard-wearing gardening gloves to help protect your hands.
We highly recommend clearing a space around the fireplace as well. Of course, clearing the whole room is best, but at the very least, make an empty safe space. Remove any valuables or furniture and lay a tarp down on the floor to catch dirt and dust.
Measuring Your Fireplace
Now that you’ve prepared your tools and tiles, you need to address the fireplace itself. Which fireplace hearth do you have? There are two main types.
A recessed fireplace hearth is level with the floor of the room, and a raised fireplace hearth is one with a step that lifts it off the floor. The tiling process for both is very similar, except that a recessed fireplace will require less work.
The next step is to measure your fireplace. Ensure to measure all the dimensions of the fireplace you want to tile. This is similar to measuring for bathroom or kitchen tiling, but you should note the halfway point. The halfway point is a crucial decision for the layout of the tiles because it dictates where your centre tile will be. Building your design from this centre point will help keep your pattern uniform across the fireplace.
Sealing the Area
Before you lay your tiles out, we recommend that you dust your fireplace and seal it with a layer of acrylic primer. Prepping your fireplace like this will help increase the adhesion when using your adhesive. Then, once it’s dry, you can mark that centre halfway point with a pencil.
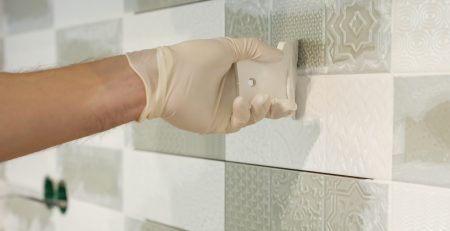
Laying Out The Tiles
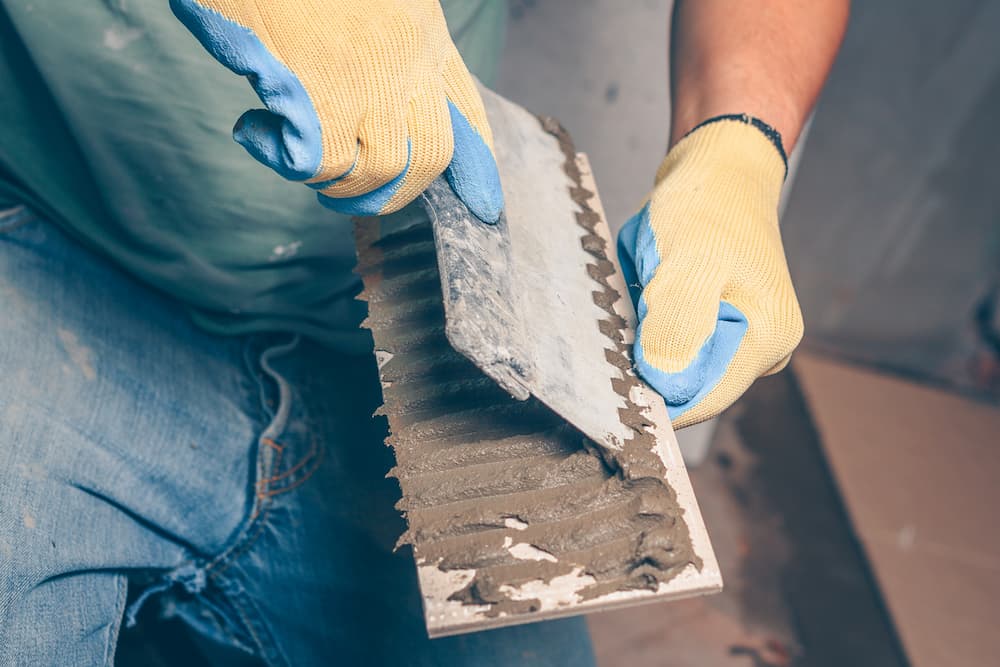 Prepare your adhesive according to the brand you purchased. Then, use your trowel to transfer the glue to every surface you want to tile on the fireplace. Spread it evenly but keep the depth to around 2 to 3 cm. Additionally, use the ridged side of the trowel to make ridges in the adhesive; this will help them stick quicker.
Now that you have your halfway point and have prepared your fireplace, you can work outwards from that centre tile. You can place your new tiles anywhere you wish to create your unique composition. This is where you need a tile cutter to trim or shape tiles to suit your needs.
Clean Up and Grouting the Fireplace
Once all your tiles are in place, you can use a sponge and some water to clean each tile individually. We recommend waiting until the adhesive is set to do this; otherwise, you may accidentally move your tiles.
Now that your tiles are firmly fixed in place, you can begin grouting. First, press your grout in-between each of your tiles (otherwise known as grout lines). Then, moving from back to front, you can apply the grout and remove excess as you go. Taking your time with this step will leave you with a beautiful result of all your hard work.
Order Luxurious tiles for your Fireplace
A fireplace adds warmth and charm to your living room. The atmosphere a woodburning fire provides cannot be understated. Kendal Tile and Stone are original style stockists of a wide variety of tiles for your kitchen, bathroom, and fireplace. Please don’t hesitate to contact our team to discuss which tiles would best suit your fireplace with our expert team.


Leave a Reply