The No Stress Guide to Taking out your Old Tiles
So, you’ve picked out one of our stunning Porcelanosa tiles – or perhaps something one of our many other stylish ranges. Now they’ve arrived, and they’re just as you imagined them, so you can’t wait to get them up and see how they transform your room.
Of course, before you do there’s the not so small matter of getting rid of those old tiles which are sitting in the way. This can be quite a stressful experience if you don’t know where to start, since fears of damaging your walls can become all too justified. We recommend hiring a professional if you start to feel uncomfortable at any point of the process, however if you’re a DIY maverick who just has to do it for themselves then read on…
One: Don’t Go In Without a Plan

We’re not going to lie to you: taking out old tiles for yourself is going to be a big job. This means that it’s absolutely essential not to rush into anything, instead think about how you’re going to go about the process. Gather together the tools that you’ll need – a hammer and chisel, a floor scraper, protective clothing including thick gloves and safety glasses, and cleaning products. Then decide where you’re going to start and how you’re going to progress.
Two: Clear the Area
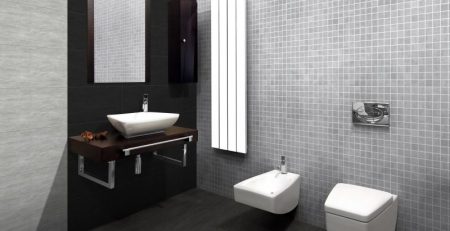
Regardless of which room you’re working in you’ll want to have a good clean before you get started. Also make sure that the area is as bare as possible – stash away your belongings and cover larger items with dust sheets. If you’re working in the bathroom then this is where things get a little complicated, as you will probably also need to remove the toilet and/or sink if they prevent access to the tiles.
Again, if you feel that you may not be able to successfully complete the job we would like to stress that it is always better to employ a professional than to risk ruining your home! If you decide to press on, consult a dedicated guide such as this one.
Three: Break the First Tile

You’ll need an entry point, and the only way to get one is by breaking up the first tile. Make sure that you’re wearing protective clothing, and pay particular attention to your hands and eyes – tiles can have very sharp edges. Then work at hitting the centre of the tile with a hammer until it begins to break apart. Once it’s broken, you can use the chisel to remove it, working in from the edge.
Four: Use the Hammer and Chisel to Pry Off the First Few Tiles
Once you’ve broken apart the first chisel, you’re in – which means that this is where the hard work begins. Repeat the step above on several tiles until you have removed at least three or four.
Five: The Floor Scraper Should Help to Remove Bigger Sections
Now you should be able to start using the floor scraper in place of the chisel to remove multiple tiles at once. With a combination of steps 3, 4 and 5 you should be able to remove all of the tiles from your floor or walls.
Six: Use the Hammer and Floor Scraper to Remove Remaining Mortar
After the tiles are all up, you’ll probably still need to get rid of some of the mortar that they were set into. For this, you’ll need a similar technique to before, this time using the hammer to break the mortar and the scraper to remove it.
Seven: Reward Yourself with a Cup of Tea!

Once all the hard work is done you’re going to need to reward yourself, so grab a hot cup of tea before embracing the clean-up operation.
If you’re still on the lookout for the right tiles then we might be able to help you make your pick, so get in touch online today or call us at 01539 741155.


Leave a Reply