
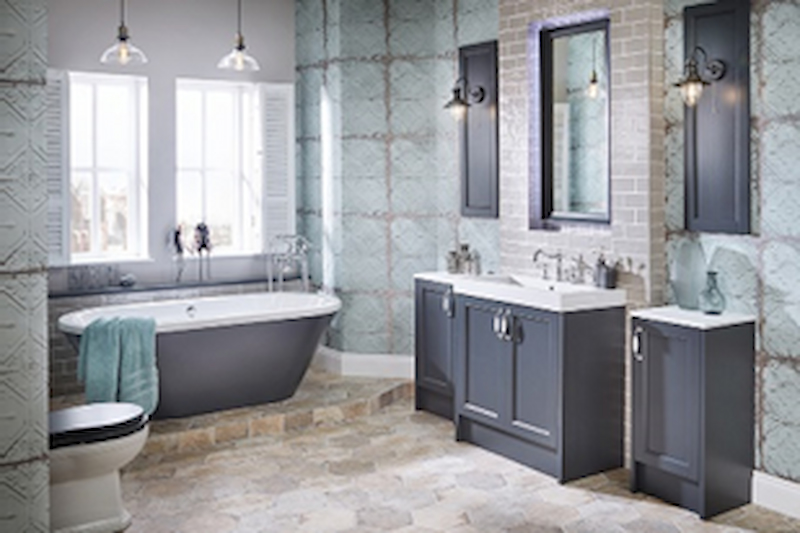
How to Tile A Bathroom
Are you looking to re-tile your bathroom? Perhaps you have purchased some of our beautiful porcelanosa bathroom tiles? Or your stunning original style tiles are gathering dust as you look for someone available to finish the job? With this guide, we can help you be the person to get those new tiles fitted. With the right tools, good instructions and a bit of work, the job no longer has to be one you pay for anymore.
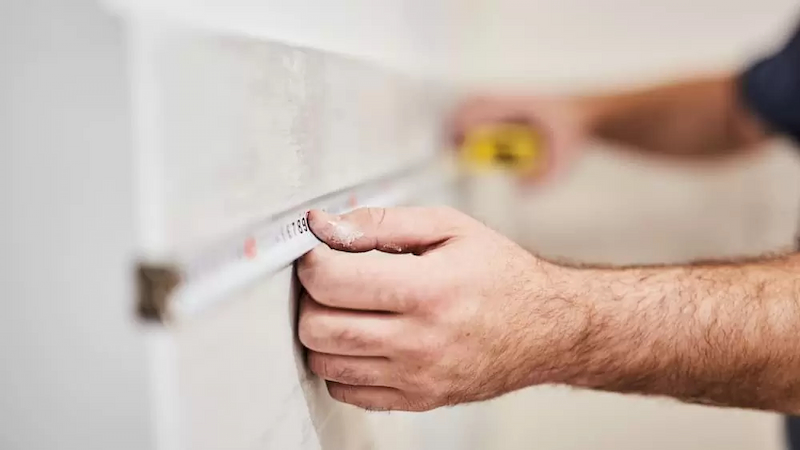
The Right Materials
Before you get going, you must ensure you have the right equipment. Measure the space you intend to tile, take the measurements of your desired tile and ensure the area matches. Running out when you are nearly finished can leave you in deep water, swimming around to find more of the exact matching tiles. It is always better to have too many tiles than too little. Adding 15% more than required is the safest way to ensure you do not run out.
Materials Checklist:
- Tiles
- Thin-set Tile Adhesive
- Grout
The Tools You Will Need
Having the right tools for the job is probably just as important as having the right tiles. The wrong tools can prevent the tiles from looking perfect once they are fitted.
Tools Checklist:
- Tape Measure
- Silicon
- Utility Knife
- Notched Trowel (Square notches for the floor, round for the walls)
- Cement Board
- Tile Cutter or Wet Saw ( we recommend a rail cutter as they usually have the cleaner cut)
- Screws
- Bucket and Sponge
- Tile Spacers
- Spirit Level
- Tile Nippers Optional (These will help to cut your tile to fit around basins and pipes, but not essential)
Preparing
With all the tools and materials ready, now it is time to prepare your area. The first job is to sweep and clean the surrounding space. Having excess dust and debris can affect the hold of the tile adhesive, and the last thing you would want is your perfectly laid tiles coming away from the wall or floor.
Once your area is clean, mix a batch of thin-set tile adhesive and spread a layer of this on your designated location. Cut the cement board to fit the space and secure it with screws along the edges. This process allows the tiles to sit level if the surface underneath isn’t even.
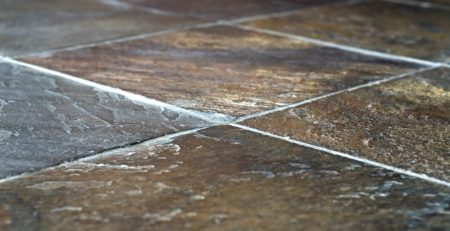
Reference Lines
When it comes to laying floor tiles, you will need reference lines. Find either the most visible wall when entering the room—the wall with the longest continuous tiles or the straightest walls. At 90 degrees to this wall, draw a chalk line to the opposite wall crossing the centre of the room using a measuring tape and spirit level for accuracy. From the centre of this line, draw a 90-degree line to both remaining walls.
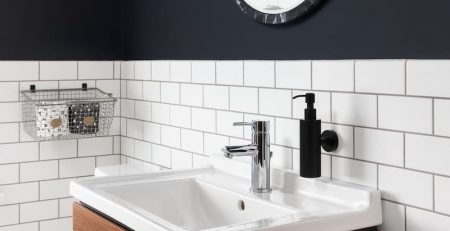
For tiling walls, the reference will depend on whether you are tiling the full wall or just part of the wall. Since you have already decided on the space, it would be an ideal time to ensure it is outlined with chalk if you are only doing a partial tile. If you are tiling the entire wall, use the same process for the floor.
Laying the Tiles
Lay out a line of tiles along the centre chalk reference line. Move the tiles around so that the offcut tiles will be on the less noticeable sides of the room.
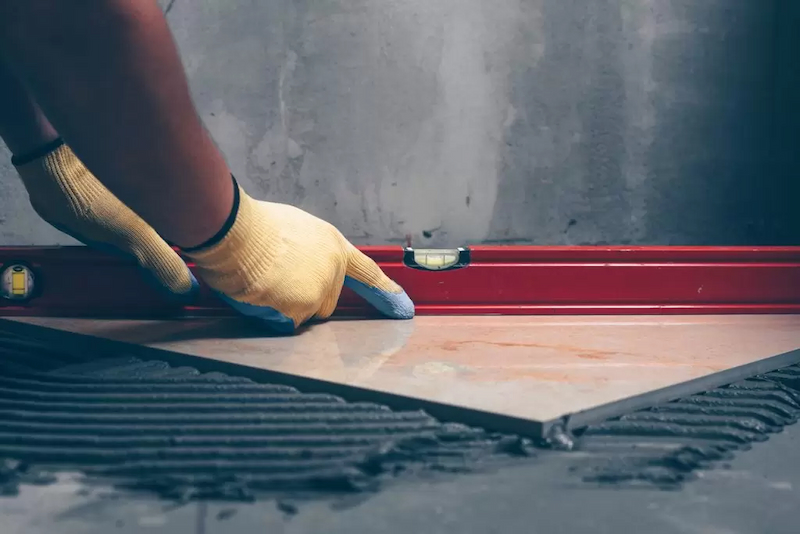
Use the tile spacer between each tile to ensure consistent spacing. Following the reference lines, set out the tiles using thin-set tile adhesive until you have two intersecting lines touching four walls(or the ceiling and floor, and two walls if you are tiling the walls). Work out from these lines, starting with the area furthest from the door until the whole of the room or wall is tiled, cutting the tiles where needed. Wait at least a day for the tile adhesive to dry before you begin grouting.
When cutting the tiles to fit, it is good practice to wear protective gloves and eyewear; this will protect you from flying fragments of tiles. Using the tile nipper will help you achieve more detailed cuts around the trickier areas.
Grouting
Once the tile adhesive is dry, remove the spacers and mix the grout in the bucket. Scoop some of this onto the tiles with a trowel, then firmly press between the tiles with a grout float. Wipe away the excess grout from the tiles using the sponge and water before it can dry. Grout is much harder to remove once it is set and can damage the finish of the tiles.
When grouting the tiles, it is good practice to move diagonally across the area to complete it. You must wait at least two days for the grout to cure.
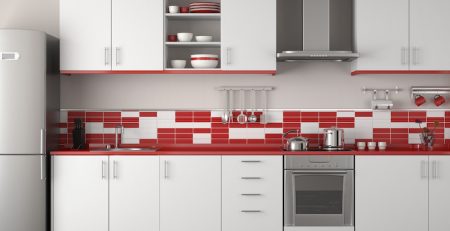
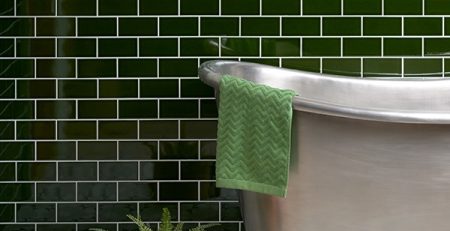
The Finish
If you use a sealer, apply this evenly over the tiles once the grout is dry. Once it is all dry and finished, your newly tiled bathroom is ready to provide you with awe as you appreciate the hard work you have put in. The only issue you may come across after the project is complete is having the confidence to tile every room of your home.
As large online tile suppliers of quality products, including some of the most beautiful porcelain bathroom tiles in the uk, check out our collection of magnificent tiles for every room. Alternatively, you can contact us for advice or some free sample tiles to get you inspired.


Leave a Reply